How To Get Response Status Code Using Apache HTTP Client?
As an automation tester, many times we reminisce about what is going on behind the scenes after the URL is passed to the web browser. What happens once the browser requests to load a website, or how does it know whether its request has been accepted and is ready to be fulfilled or not?
The answer to these is the HTTP response status codes for the resource APIs executed on the backend for the website. The request goes to the website server, which tells the browser through these numeric codes whether it is successful or not.
We often want to check the response status code for the web service or web page under consideration. For example, you want to check if all the redirections on a page are working fine or not. In such a case, instead of navigating to each page and verifying if it is loaded or not, we can directly fetch the URLs to those pages and check response codes. This saves execution effort and time.
This can very well be achieved while executing Selenium WebDriver automation scripts.
This blog showcases how to get a response status code using Apache HTTP Client and use it as part of your Selenium WebDriver scripts. We will learn about the different classes of HTTP response status codes, followed by how to send the request and fetch code through an example of an automation script.
What is an HTTP Response Status code?
The web browser requests the website’s server whenever you visit a website on it. The website server then responds based on which website is loaded and which content is displayed. An HTTP status code is this server response in the form of a 3-digit code for your browser’s request.
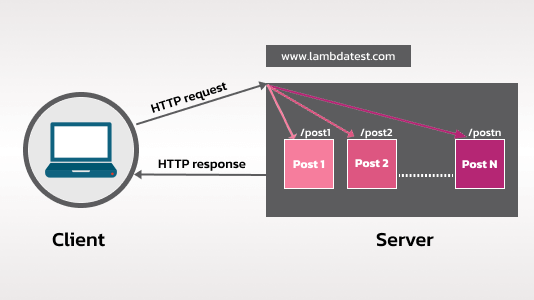
These codes are usually used in all web applications and serve as a means to verify all the links and associated resources on the Webpages. These response status codes are divided into several classes depending on the various response types.
Classes of HTTP Response Status Codes
HTTP Response status codes are divided into five classes. Each class comprises a number of status codes that indicates the response for the web service URL. Each class code has a specific meaning associated with it.
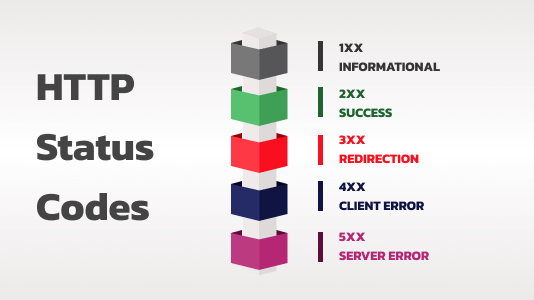
Let’s look at these classes and codes and understand the frequently used ones in a bit of detail before moving forward.
1xx – Informational
Indicates a provisional response, which means that the request is received and the process is continued further.
| STATUS CODE | MEANING |
| 100 | Continue |
| 101 | Switching Protocols |
| 102 | Processing |
2xx – Success
Indicates that the client request is received, understood, validated, and processed successfully.
| STATUS CODE | MEANING |
| 200 | OK – Most used status code to indicate success for any request. |
| 201 | Created – Code indicates that the request is successfully processed and a new resource is created. Mostly used for PUT or POST requests. The response may or may not contain body content. |
| 204 | No Content – Indicates that the client request is successfully processed. It does not return any response body content mandatorily. |
| STATUS CODE | MEANING |
| 202 | Accepted |
| 203 | Non-Authoritative Information |
| 205 | Reset Content |
| 206 | Partial Content |
| 205 | Multi-Status (WebDAV) |
| 205 | Already Reported (WebDAV) |
| 226 | IM Used |
3xx – Redirection
This class of status codes is mostly used when we want to indicate the requirement of additional steps to be taken to complete the request.
| STATUS CODE | MEANING |
| 304 | Not Modified– This code indicates that the website or resource that the client is trying to access has not been changed or modified since the last time it was accessed. For example, when a browser accesses a website, it caches (saves) the webpages to load it faster next time in case there are no changes after the last access. |
| STATUS CODE | MEANING |
| 300 | Multiple Choices |
| 301 | Moved Permanently |
| 302 | Found |
| 303 | See Other |
| 305 | Use Proxy |
| 307 | Temporary Redirect |
| 308 | Permanent Redirect (experimental) |
4xx – Client Error
4xx class of status codes is used in situations when the client has made any invalid request leading to an error scenario.
| STATUS CODE | MEANING |
| 400 | Bad Request – This is the most common 4xx code due to invalid request syntax. Possible examples could be missing mandatory data, invalid domain/URL, mismatch in the expected value type, etc. |
| 401 | Unauthorized – This code indicates that the authentication token required by the server to validate and process the request is either missing or invalid. |
| 403 | Forbidden – This code occurs when the user tries to make the request and is not authorized to perform it. The authentication token in such requests is generally valid, unlike the 401 Unauthorized cases. |
| 404 | Not Found – This code indicates that the browser was able to communicate with the resource server, but the requested data is not found. For example, the user opens a website and then tries to navigate to a particular page, but that page is not loaded. However, this error code is not a permanent state, and the page can be accessible after some time or retires. |
| 409 | Conflict – This code indicates that a request is not processed due to a conflict in data. For example, conflicts can arise when two clients are trying to update the same resource concurrently or when a client tries to create or update a resource with duplicate data. |
| STATUS CODE | MEANING |
| 402 | Payment Required |
| 405 | Method Not Allowed |
| 406 | Not Acceptable |
| 407 | Proxy Authentication Required |
| 408 | Request Timeout |
| 410 | Gone |
| 411 | Length Required |
| 412 | Precondition Failed |
| 413 | Request Entity Too Large |
| 414 | Request-URI Too Long |
| 415 | Unsupported Media Type |
| 416 | Requested Range Not Satisfiable |
| 417 | Expectation Failed |
| 418 | I’m a teapot (RFC 2324) |
| 420 | Enhance Your Calm (Twitter) |
| 422 | Unprocessable Entity (WebDAV) |
| 423 | Locked (WebDAV) |
| 424 | Failed Dependency (WebDAV) |
| 425 | Reserved for WebDAV |
| 425 | Reserved for WebDAV |
| 426 | Upgrade Required |
| 428 | Precondition Required |
| 429 | Too Many Requests |
| 431 | Request Header Fields Too Large |
| 444 | No Response (Nginx) |
| 449 | Retry With (Microsoft) |
| 450 | Blocked by Windows Parental Controls (Microsoft) |
| 451 | Unavailable For Legal Reasons |
| 499 | Client Closed Request (Nginx) |
5xx – Server Error
These error codes indicate that the server failed to process/complete the request. Requests in such cases are generally valid and only fail due to server issues.
| STATUS CODE | MEANING |
| 500 | Internal Server Error – A generic server-side error when the server throws an exception without any specific cause details. |
| 502 | Service Unavailable – This indicates a temporary state when the server is unavailable to process requests. Possible reasons could be the server is getting restarted or down for maintenance etc. |
| 503 | Gateway Timeout – This error code occurs when the server acts as a gateway and does not receive the response from the upstream server in the expected time. |
| STATUS CODE | MEANING |
| 501 | Not Implemented |
| 505 | HTTP Version Not Supported |
| 506 | Variant Also Negotiates (Experimental) |
| 507 | Insufficient Storage (WebDAV) |
| 508 | Loop Detected (WebDAV) |
| 509 | Bandwidth Limit Exceeded (Apache) |
| 510 | Not Extended |
| 511 | Network Authentication Required |
| 598 | Network read timeout error |
| 599 | Network connect timeout error |
Fetching HTTP Response Status Codes using Apache HTTP Client
While working with web driver-based automation scripts, there is no direct support to check the response status code of the website/resource under consideration. So to achieve the same, the Apache HttpClient library is used in this blog with the help of Java language for demonstration.
What is Apache HttpClient?
This Apache library in the java.net package provides the basic functionality to access HTTP resources.
It provides a number of classes and methods that can be used to interact with the given website URL and fetch the HTTP response codes.
How to get response status code using Apache HttpClient
In order to be able to get the response codes using Apache HttpClient, we need to follow the below steps once we have the URL to be verified:
Step 1. Create an instance of HttpURLConnection class, which is a part of the java.net package. This will help to fetch the HTTP response status code.
Step 2. Use the openConnection() to create a link to the URL using the instance created in the previous step.
Step 3. Set the request method as HEAD using the setRequestMethod() function. This is required as with this method, the HTTP request is executed successfully, and in response, we get only the response headers, including the HTTP response status code. The response body is not returned in this case.
Step 4. Apply method connect() to the object of HttpURLConnection class. This would help to make a connection to the URL and execute the request.
Step 5. Use the getResponseCode() method to fetch the HTTP response status code and compare/use it as required.
//URL connection
HttpURLConnection cont=(HttpURLConnection)new URL("https://www.lambdatest.com/selenium-playground").openConnection();

// pass HEAD as parameter to setRequestMethod
cont.setRequestMethod("HEAD");

// make connection and obtain Response code
cont.connect();
int responseCode = cont.getResponseCode();
Demonstration: How to fetch response status code using Apache HttpClient on Selenium-based tests
Now that we have looked into the nitty-gritty of HTTP response status codes, let’s make use of the relevant methods of the Apache HttpClient package to send HTTP requests & fetch their response.
Let’s try to automate the following test scenario to understand practical implementation:
Navigate to LambdaTest Selenium Playground.
Fetch the WebElement locator for all the resources on the page.
Start traversing through the list and fetch the hyperlink URL for the resource.
Make an HTTP URL connection using the steps explained in the previous section for the URL fetched in Step 3.
Compare the response code for this URL.
If 200, log that connection successfully and increment the number of successful connections.
Else, log that connection failed and increment the number of failed connections.
Repeat steps 3 to 5 until all links in the list are traversed.
Print the total number of successful and failed connections.
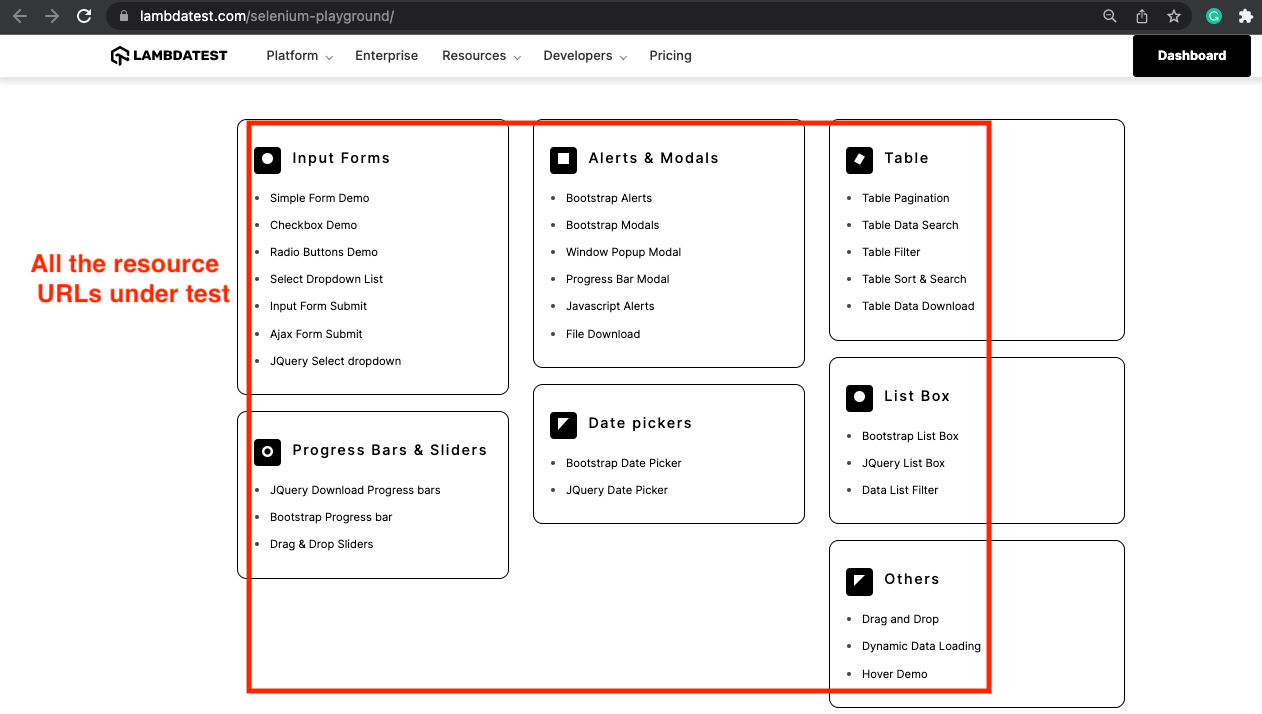
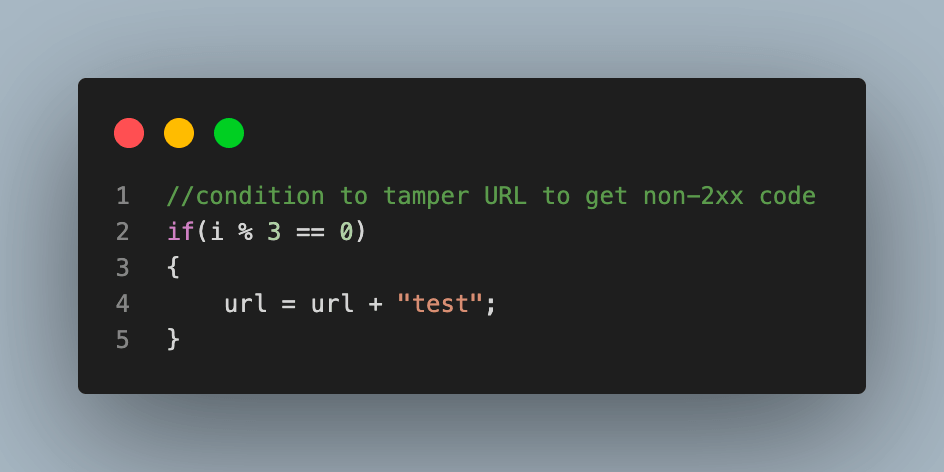
Note: The LambdaTest Selenium Playground Page and its resources are widely used and always up and running. So for this blog purpose, a condition has been applied in code to tamper with a few resource URLs to get a non-2xx HTTP response status code to showcase failed connection cases.
Project Setup
Having defined the test scenario to automate, the next step is to set up the project in the IDE and get started with the code.
For this blog on how to get response status code using methods of Apache HttpClient, we will be using Eclipse IDE with Java to create the project and automate the flow. It will use Selenium WebDriver and TestNG dependencies added to it for execution purposes.
- Create a Maven project and name it as HttpResponseStatusCodes.
Update the pom.xml to have Selenium and TestNG dependencies. It is advisable to use the latest stable versions.
<project xmlns="http://maven.apache.org/POM/4.0.0" xmlns:xsi="http://www.w3.org/2001/XMLSchema-instance" xsi:schemaLocation="http://maven.apache.org/POM/4.0.0 https://maven.apache.org/xsd/maven-4.0.0.xsd">
 <modelVersion>4.0.0</modelVersion>
 <groupId>HttpResponseStatusCodes</groupId>
 <artifactId>HttpResponseStatusCodes</artifactId>
 <version>0.0.1-SNAPSHOT</version>
 <build>
   <sourceDirectory>src</sourceDirectory>
   <plugins>
     <plugin>
       <artifactId>maven-compiler-plugin</artifactId>
       <version>3.8.1</version>
       <configuration>
         <release>16</release>
       </configuration>
     </plugin>
   </plugins>
 </build>
 <dependencies>
   <dependency>
       <groupId>org.seleniumhq.selenium</groupId>
       <artifactId>selenium-java</artifactId>
       <version>4.1.4</version>
   </dependency>
   <dependency>
       <groupId>org.testng</groupId>
       <artifactId>testng</artifactId>
       <version>7.5</version>
       <scope>test</scope>
   </dependency>
 </dependencies>
</project>
Add 2 Java files to your project:
BaseClass.java: It will contain the code for browser initialization, quitting the browser after execution, and connecting to a remote Selenium Grid. This file helps to prevent redundant code and make it abstract from unwanted changes.
TestHttpStatusCodes.java: This is our test file that will have actual test case code steps.
Code Walkthrough: BaseClass.java
This BaseClass file will have the code for browser initialization and closing the same after execution. It will also contain the code for setting and connecting to the remote grid. This file helps to prevent redundancy and abstract code from the outer world and is thus inherited for use.
package test;

import java.net.MalformedURLException;
import java.net.URL;

import org.openqa.selenium.remote.DesiredCapabilities;
import org.openqa.selenium.remote.RemoteWebDriver;
import org.testng.annotations.AfterMethod;
import org.testng.annotations.BeforeMethod;

public class BaseClass {

   public RemoteWebDriver driver = null;
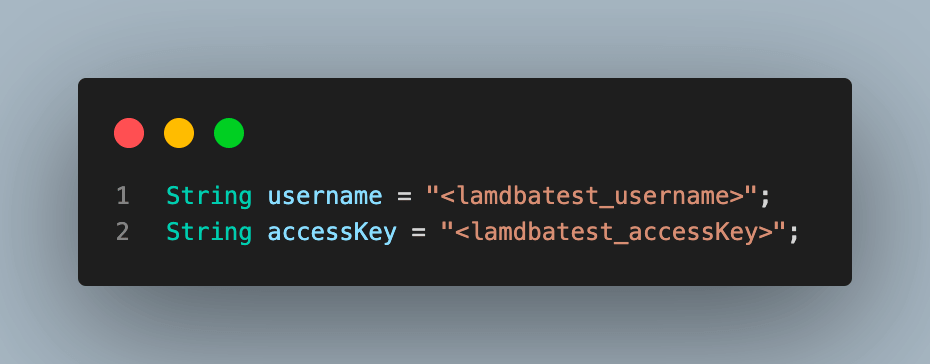
   String username = "<lamdbatest_username>";
   String accessKey = "<lamdbatest_accessKey>";

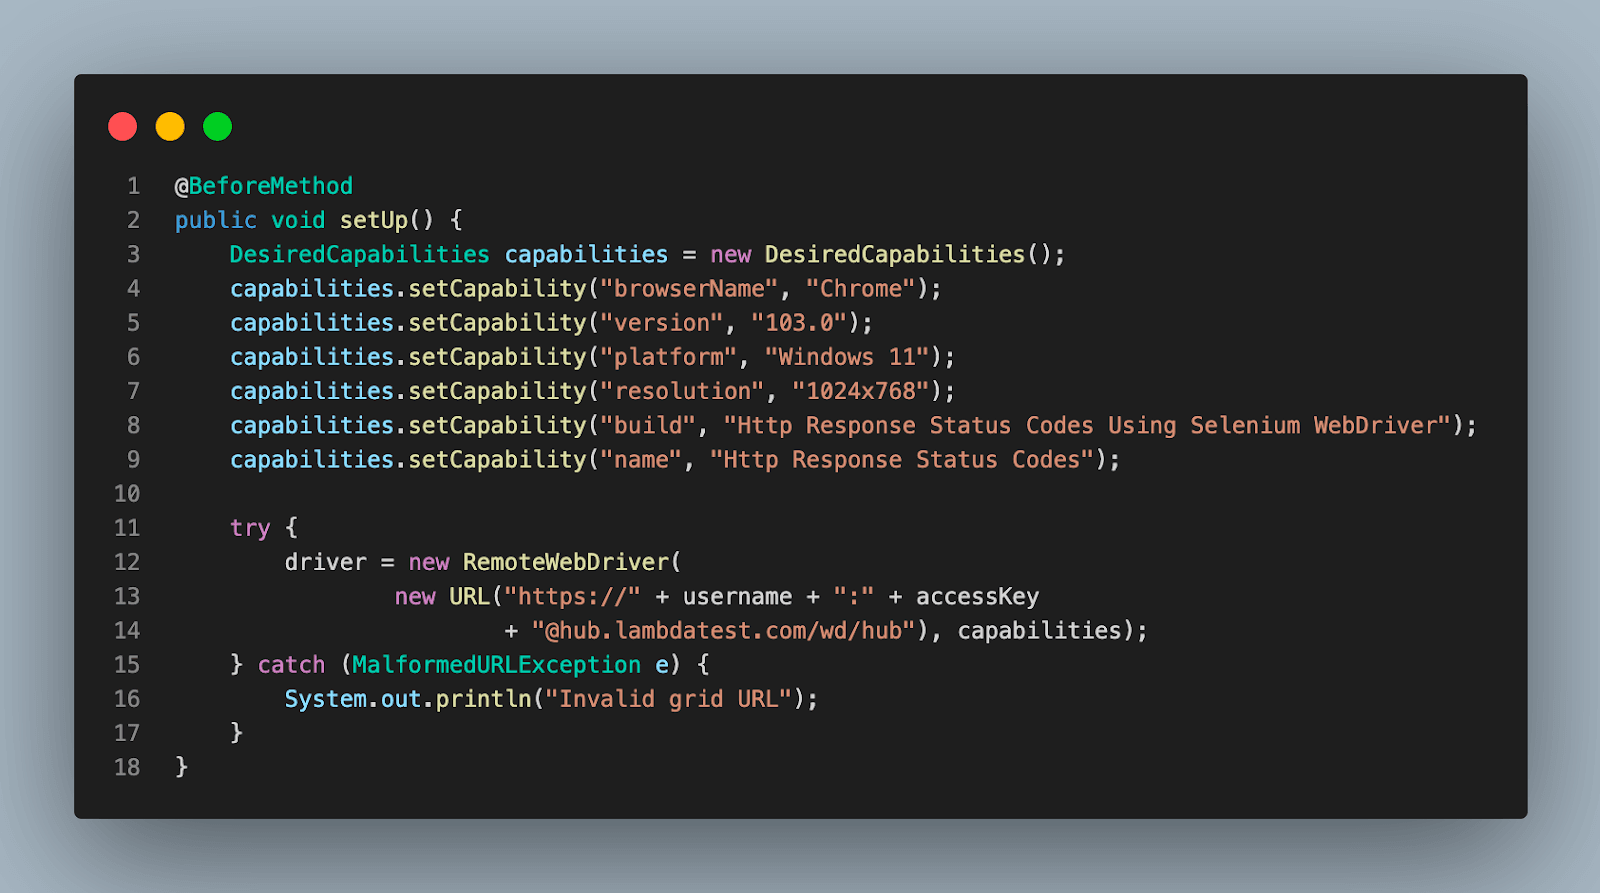
   @BeforeMethod
   public void setUp() {
       DesiredCapabilities capabilities = new DesiredCapabilities();
       capabilities.setCapability("browserName", "Chrome");
       capabilities.setCapability("version", "103.0");
       capabilities.setCapability("platform", "Windows 11");
       capabilities.setCapability("resolution", "1024x768");
       capabilities.setCapability("build", "Http Response Status Codes Using Selenium WebDriver");
       capabilities.setCapability("name", "Http Response Status Codes");

       try {
           driver = new RemoteWebDriver(
                   new URL("https://" + username + ":" + accessKey
                           + "@hub.lambdatest.com/wd/hub"), capabilities);
       } catch (MalformedURLException e) {
           System.out.println("Invalid grid URL");
       }
   }
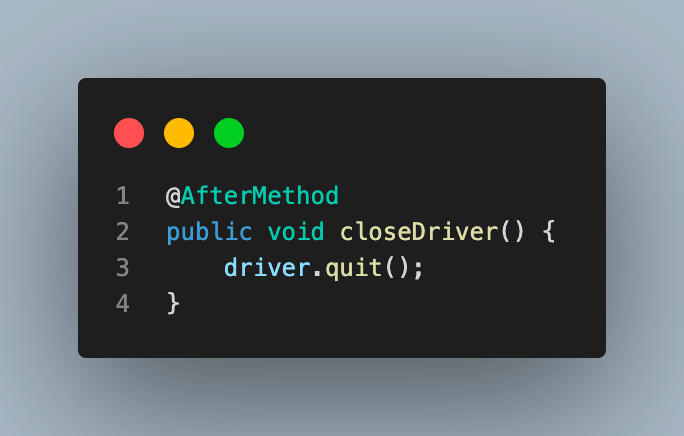
   @AfterMethod
   public void closeDriver() {
       driver.quit();
   }
}
Step 1. In this Java file, the first step is to create an instance of RemoteWebDriver. This is done so that the code can be executed on the cloud Selenium Grid.
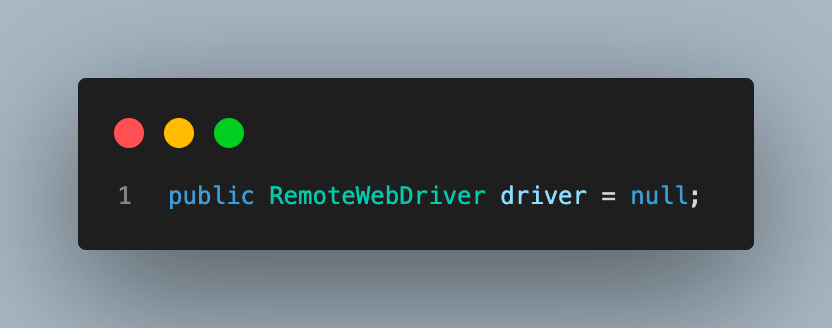
We are using Selenium Cloud Grid as it provides speed and scalability for Java automation testing and enables users to perform parallel testing across many browsers and OS.
For demonstration, we will be using the LambdaTest cloud platform. LambdaTest is a highly reliable and scalable cross-browser testing platform that offers a Selenium cloud grid to execute cases over an online browser farm of more than 3000+ real browsers and operating systems. With LambdaTest, you can accelerate your Selenium testing with Java by running parallel tests across multiple browsers and OS configurations and reduce test execution time by multiple folds.
Step 2. Since we are using LambdaTest for execution, add the username and access key for your user, which will be used to make a connection to the hub. These details can be found in the LambdaTest Profile Section after creating the account.
Step 3. Next, add the setUp() function to the file. This function will set up a browser connection with the LambdaTest cloud grid and initialize the driver instance.
Annotate this with @BeforeMethod annotation in TestNG, as we would require this connection and initialization before each test case execution.
Step 4. Add a method closeDriver() and annotate it with the @AfterMethod annotation of TestNG. This function would be executed after each test run to close the browser and the driver instance.
Code Walkthrough: TestHttpStatusCodes.java
This is the test case file that contains the code for the actual test scenario execution which we understood above.
package test;

import java.io.IOException;
import java.net.HttpURLConnection;
import java.net.MalformedURLException;
import java.net.URL;
import java.util.List;

import org.openqa.selenium.By;
import org.openqa.selenium.WebElement;
import org.testng.annotations.Test;

public class TestHttpStatusCodes extends BaseClass{

   @Test
   public void testHttpStatusCodes() throws MalformedURLException, IOException
   {
       int successfulConnection = 0;
       int failedConnection = 0;

       System.out.println("Navigating to the URL");
       driver.get("https://www.lambdatest.com/selenium-playground");

       //fetch web element locator for all the form links on the page
       System.out.println("Fetching weblement for URLs on the page");
       List<WebElement> formHref = driver.findElements  (By.xpath("//*[@class='pt-10']//a"));

       //traverse through each link and print the response status code.
       for(int i = 0; i<formHref.size(); i++)
       {
           //fetch the url link using href attribute
           String url = formHref.get(i).getAttribute("href");

           //condition to tamper URL to get non-2xx code
           if(i % 3 == 0)
           {
               url = url + "test";
           }

           System.out.println("\nConnecting to URL to fetch response code");
           //URL connection
           HttpURLConnection httpURLConnection=(HttpURLConnection)new URL(url).openConnection();

           // pass HEAD as parameter to setRequestMethod
           httpURLConnection.setRequestMethod("HEAD");

           // make connection and obtain Response code
           httpURLConnection.connect();
           int responseCode = httpURLConnection.getResponseCode();

           if(responseCode == 200)
           {
               System.out.println("Connection successfully to URL : " + url);
               successfulConnection++;
           }
           else
           {
               System.out.println("Connection failed to URL : " + url + " with response code : " + responseCode);
               failedConnection++;
           }
       }

       System.out.println("Number of Successful connections : " + successfulConnection);
       System.out.println("Number of Failed connections : " + failedConnection);
   }
}
Step 1. Create the test case function testHttpStatusCodes() and annotate it with @Test annotation to support execution using TestNG.
You can see that the throws declaration has been added to the function. This is done to catch Exceptions in Java. We have added two exceptions here:
MalformedURLException, to catch the exception in case any of our URLs have invalid syntax.
IOException, to catch any error that might occur while creating a connection with the resource URL

Step 2. Declare and initialize two variables to count the number of successful and failed connections in the test execution.
Step 3. Navigate to the URL under test and fetch the list of URL resources we want to validate.
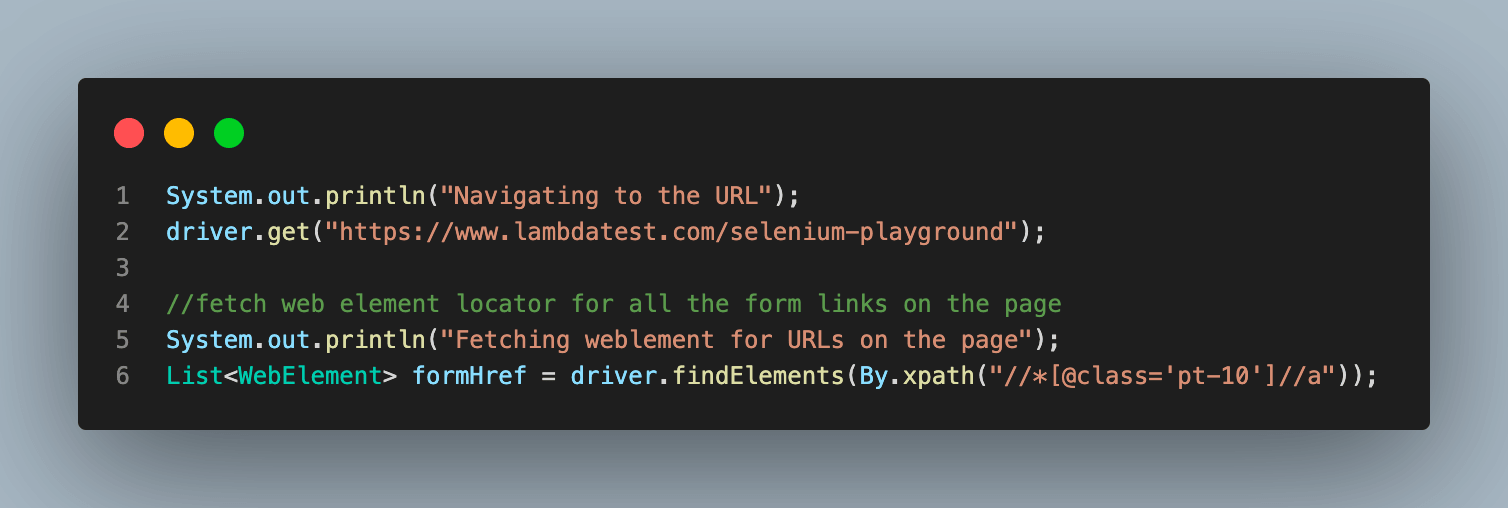
To fetch this list, we have used the WebElement XPath locator.

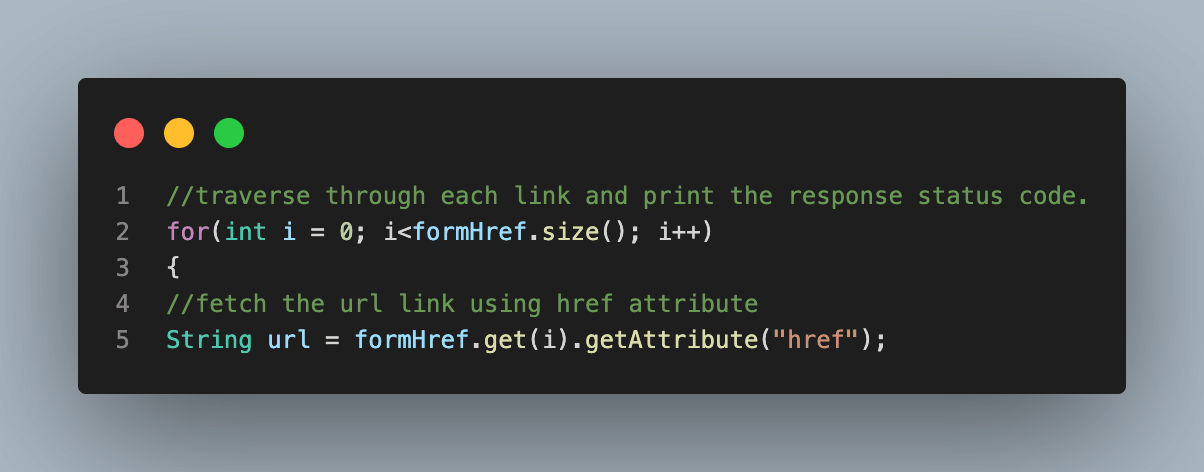
Step 4. From this step starts the main code part for this blog on how to get response status code with Selenium WebDriver Java. We start by adding a for loop, using which the list of WebElements will be traversed. Then, for each of the web elements in the previous step, we use the getAttribute() function to get the value for the href attribute of that element.
This is done because the URL to the new page/resource for any link text or button on a webpage is stored as the value of this attribute for that particular element. This value is used to connect and get the response code.
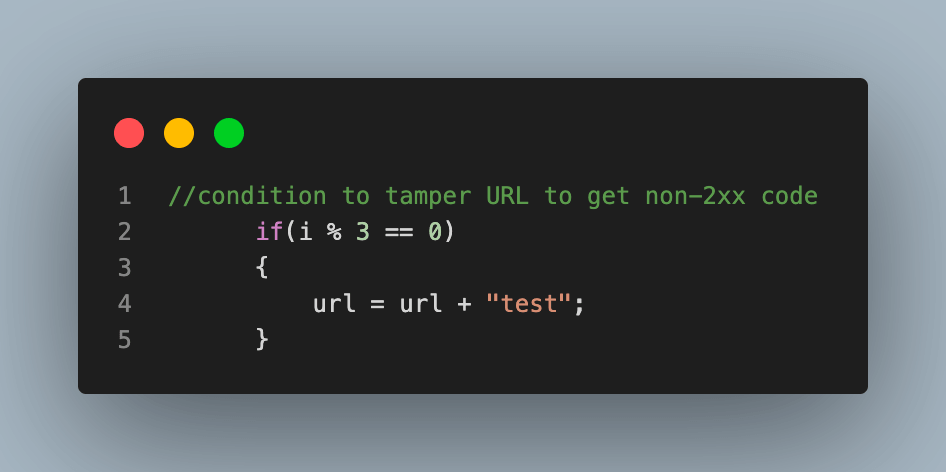
Step 5. Next, add the condition to tamper with some URLs to get a non-2xx response status code. This is the same condition described in the test scenario at the beginning of the demonstration section.
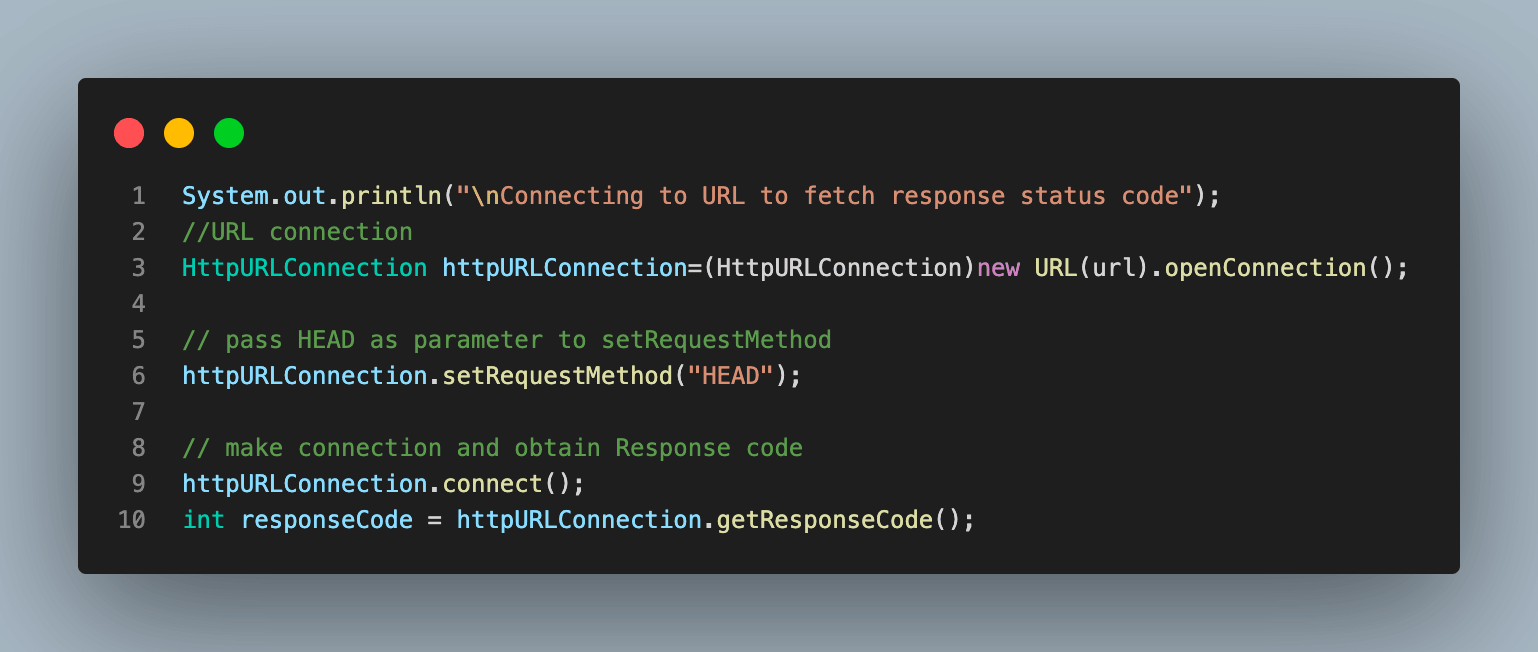
Step 6. Once we have the URL with us, we make the HTTP connection to the URL and fetch the response code. This code part is the same as we understood in one of the previous sections to create the connection and fetch the HTTP response status code using Apache HttpClient.
Step 7. By this step, we have the HTTP response status code in the response code variable. Compare the response code and check if it is 200, then log the same and increment count of successful connections and if not, log the same and increment count of failed ones.
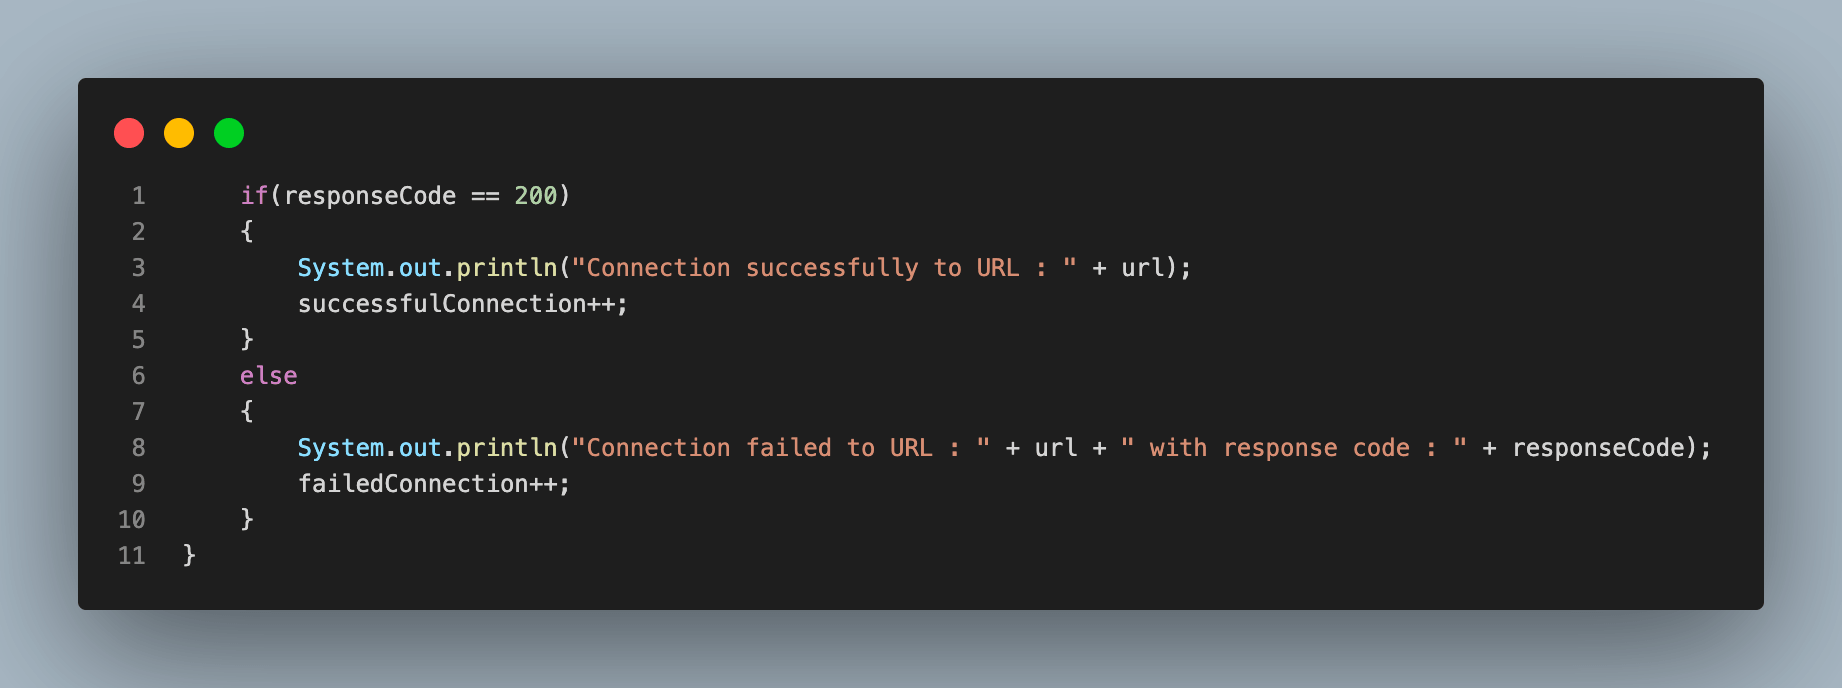
With this step, we close the for loop initiated in Step 4. After this loop is executed completely, we traversed through all the URLs and logged if they were connected or not.
Step 8. The last step for our test case would be to print the total number of successful and failed connections at the end of execution.

Test Execution
Till now, we have learned about various HTTP response status codes and how to get HTTP response status codes using methods of Apache HttpClient. We have written the test scenario using the same concepts. Let us now move forward and execute the code to see the execution results locally and on the LambdaTest Dashboard.
The test case would be executed using TestNG as we have used its annotations with the test case and other functions. To execute, right-click the test case name in Eclipse IDE, go to Run Test, and select TestNG Test to begin the execution.
You will get an output like the one below upon completion of the test.
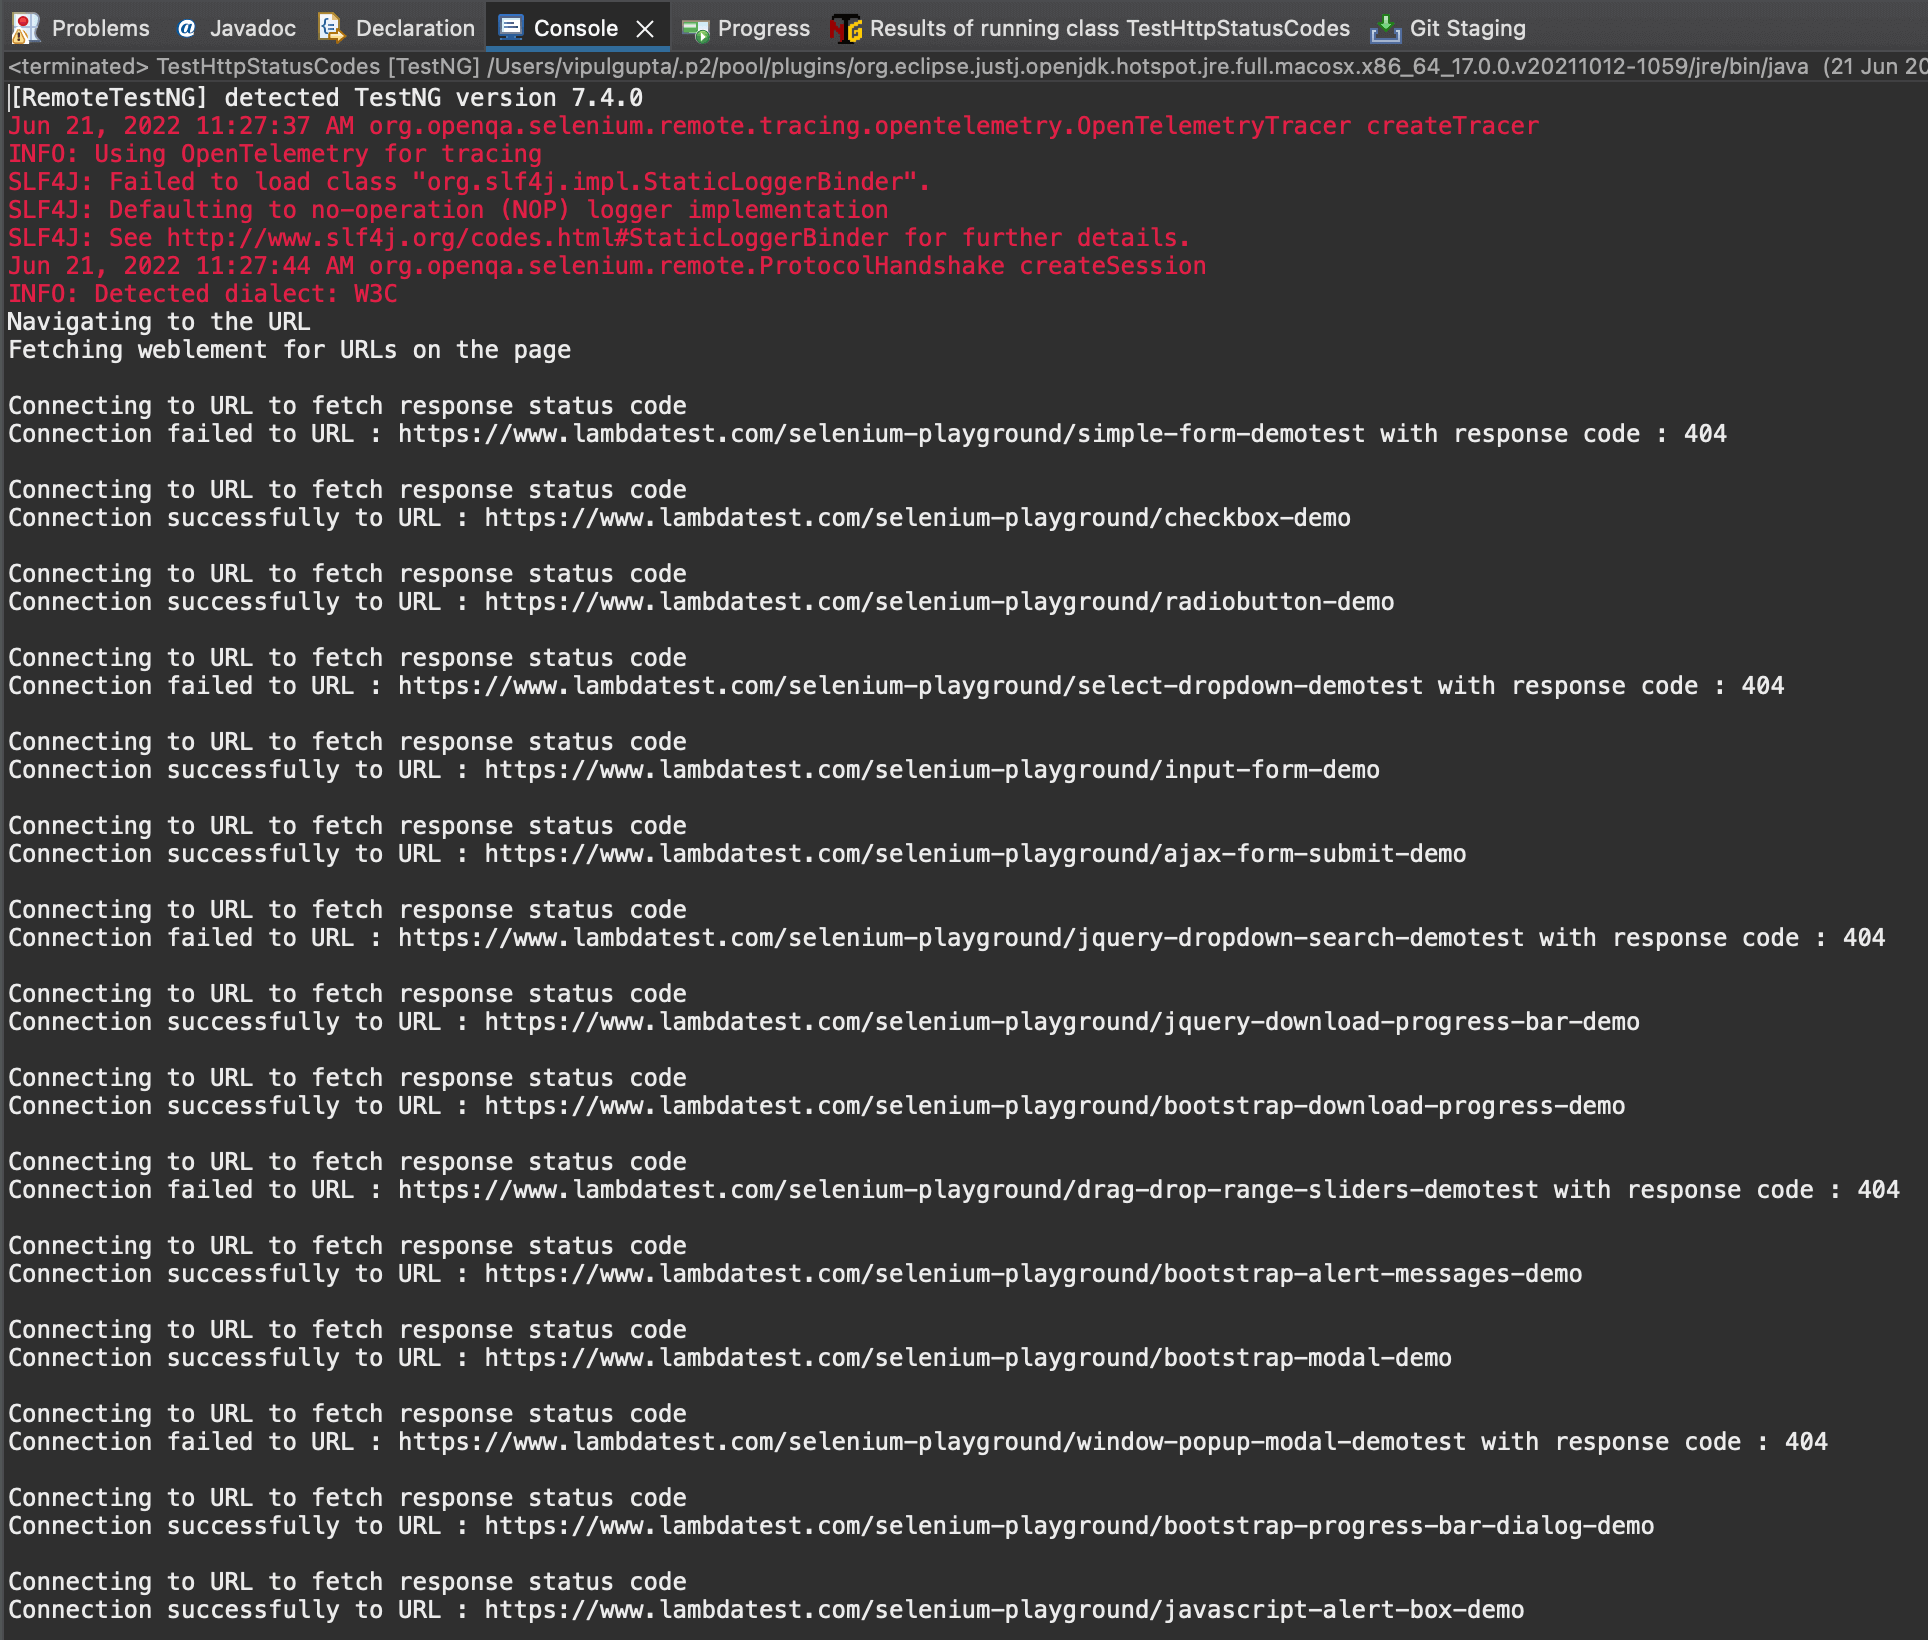
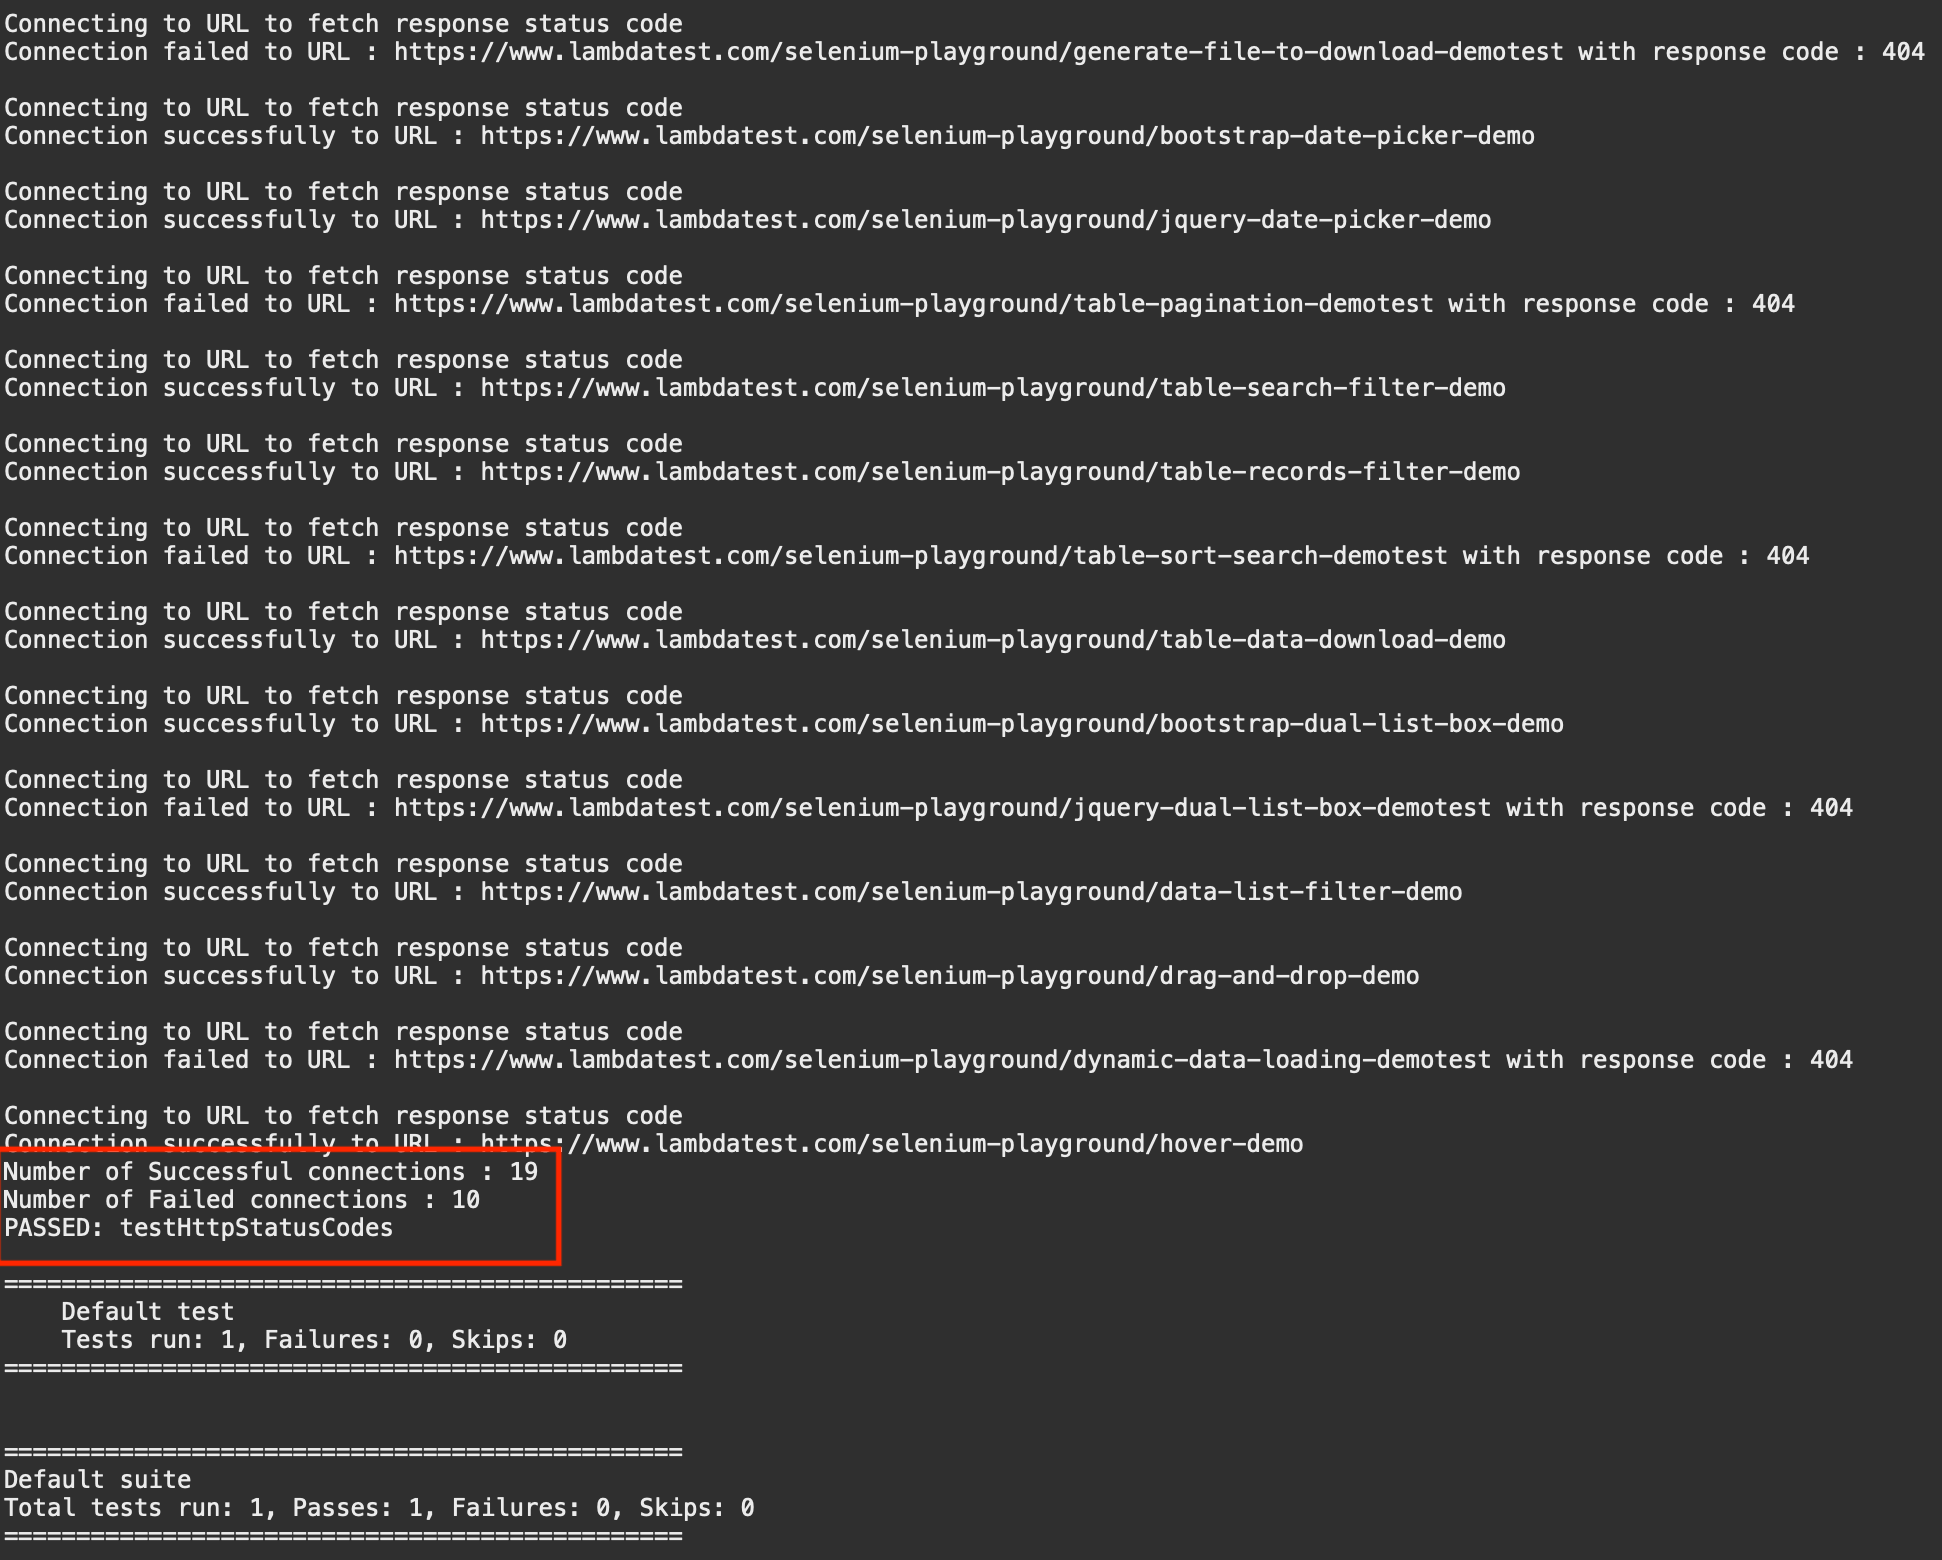
The screenshots above show all the executed URLs, and the respective HTTP response codes fetched using the relevant methods. You can also see the total number of successful and failed connections towards the end of execution.
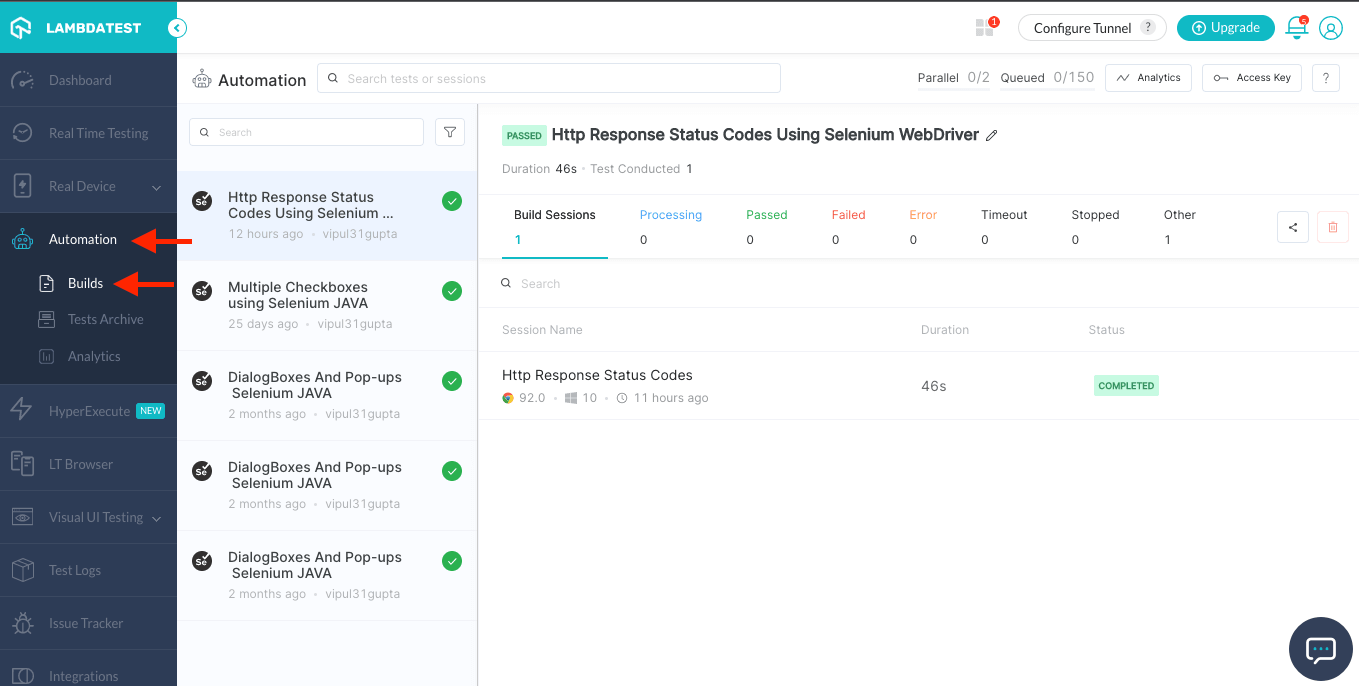
You can also view the execution results by navigating to the LamdbaTest Dashboard as shown below:
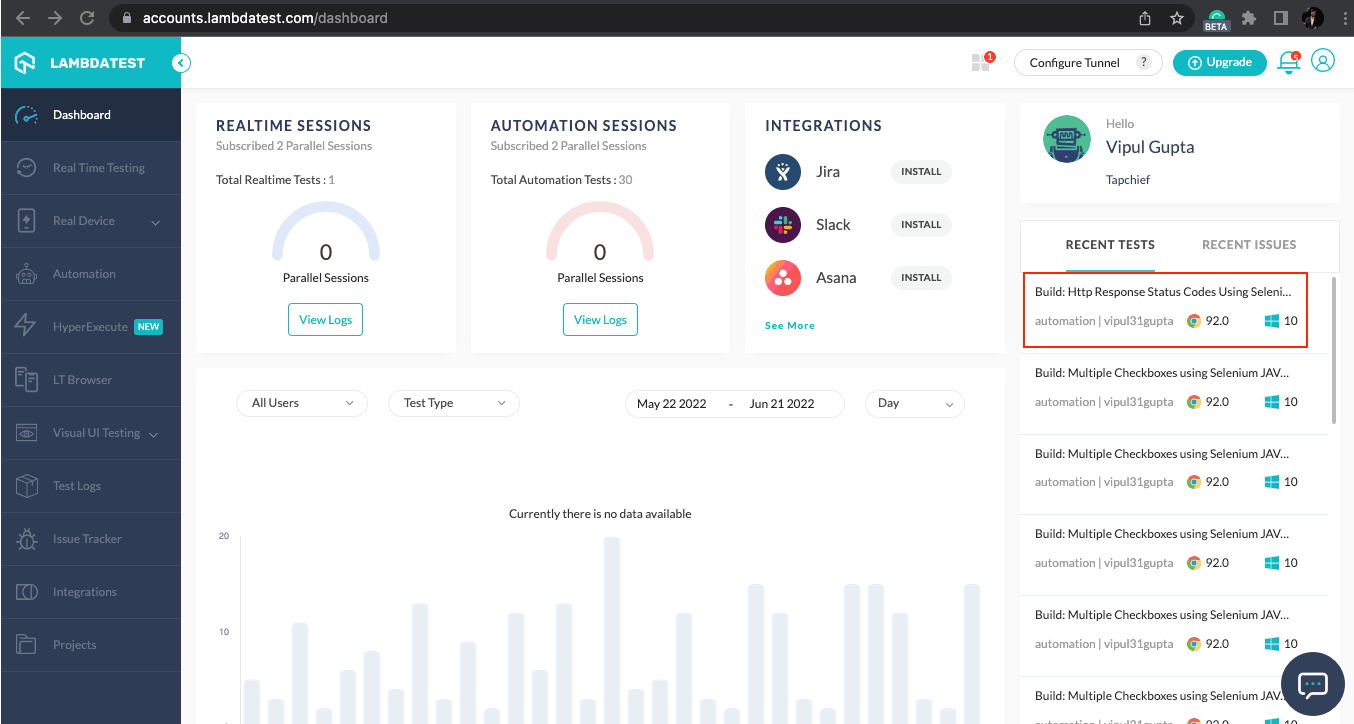
You can navigate to the Builds section under Automation to view details of your automation build.
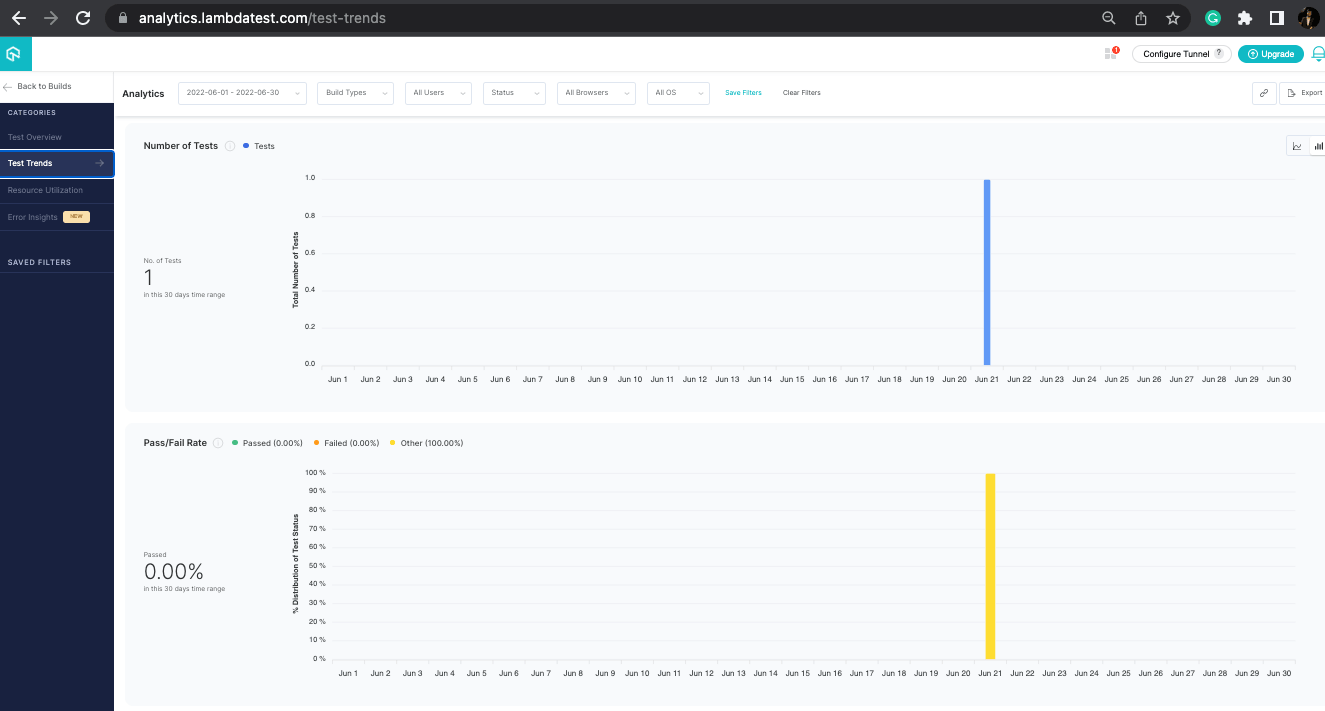
In addition, you can now analyze your test case’s test trends and performance by navigating to the Analytics section under Automation.
LambdaTest also offers HyperExecute, the fastest automated test execution cloud globally. LambdaTest’s HyperExecute allows you to execute your automated test cases at the fastest speed possible. It is up to 70% faster than any traditional Selenium Grid cloud.
Conclusion
With this, we have reached the end of this blog on how to get a response status code with Apache HttpClient and use it as part of your Selenium WebDriver-based automation scripts. This blog also demonstrated how to use these response codes in your test cases and execute them on Selenium Cloud Grid.
It’s time for you to start and play around with various response status codes for the resources on your web pages.
Happy Testing!!